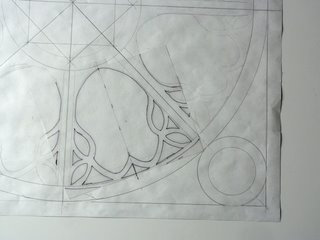
Steps 9 + 10: Creating the rose-window template first on paper, then in plastic, then using it on the Wonder Under paper backing...
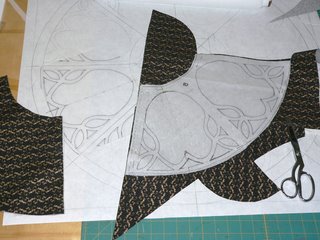
Step 11: Cutting out the rose-window "leading"
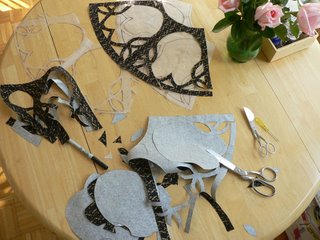
Steps 12 + 13: Planning and trimming the photo-images to fit stained glass slots
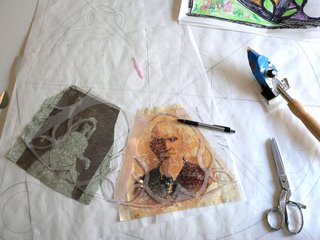

Step 14: Fusing the trimmed photo-prints to rose-window-leading (paper backing for Wonder Under is beneath my work so that I can fuse successfully, while leaving Wonder Under unfused where I don't yet need it to be fused.

Step 15: adding yellow triangles

Step 16: adding green leaves
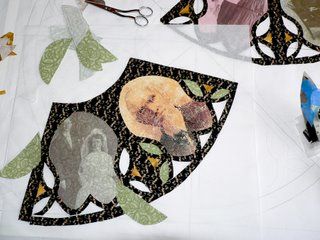
Step 17: present status on design wall
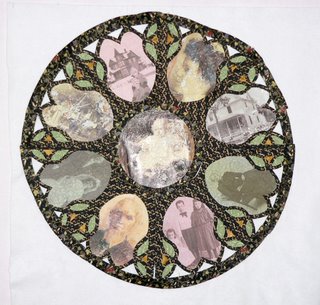
Detail of one quadrant of rose-window
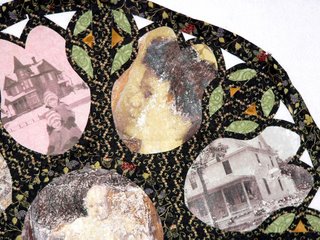
The piece is beginning to come together, although there's quite a bit left to do. Next up, selecting the remaining colors for the rose-window insets. Then, completing the corner motifs

and finally adding an outside black border to encase the window. And, of course, once the top is completed, then comes the quilting!
And since Spring is popping up in my life - the peepers awoke early Saturday morning in the swamp behind the house, a SURE sign of Spring; the robins are back in droves, and my little yellow crocus' are blooming once again - so here's a sample of NJ spring:


Pat: This is utterly fascinating. Such wonderful detail. I am blown away by what you are doing and I want to try it - not sure I have the patience.
ReplyDeletePat,
ReplyDeleteThis is looking very interesting. Can't wait to see the completed quilt.