
I decided to create a memory quilt with vintage photos featuring victorian themes and to use a basic stained-glass, rose-window design as the basis for the quilt.
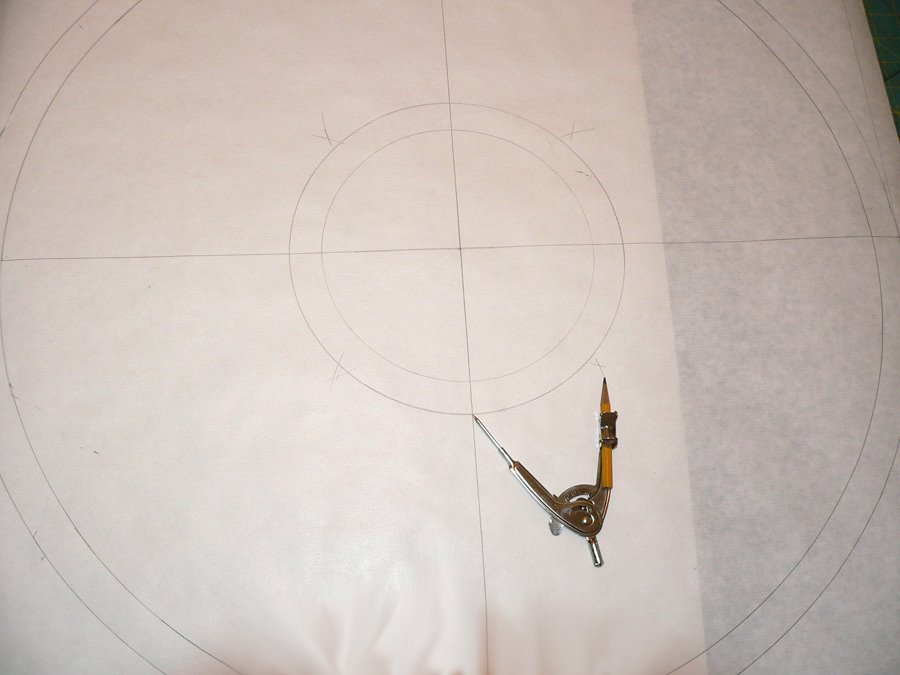
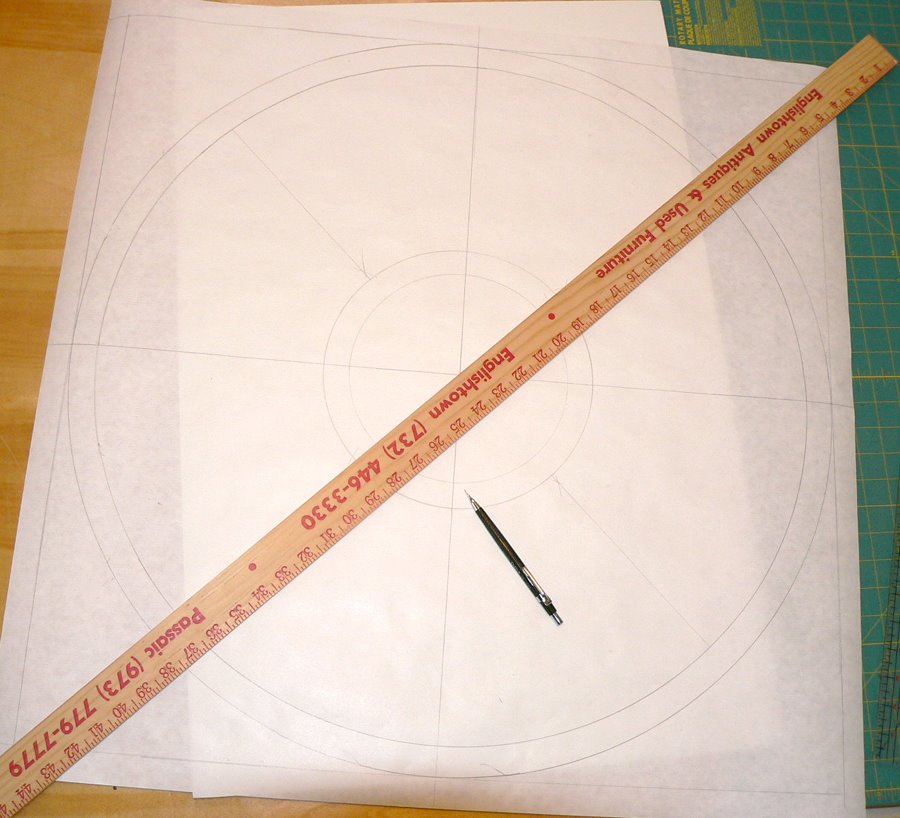
Steps 1 + 2: Designing on paper - measuring out the square and the circle for the rose window basic format. I'm using a 30" wide roll of basic craft paper available at most arts and crafts stores, cut to the appropriate size.
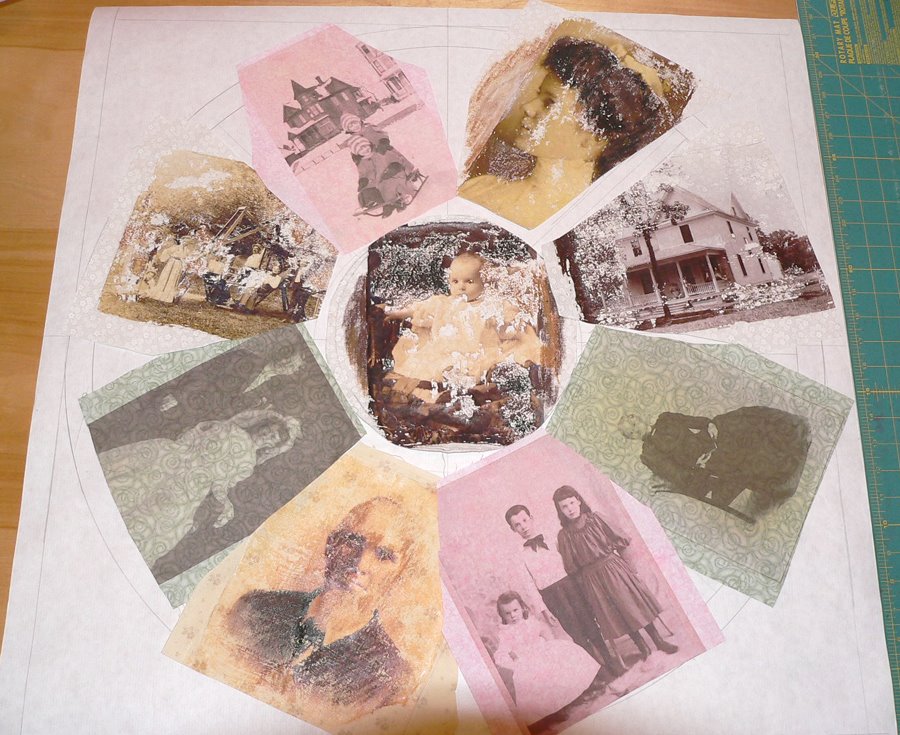
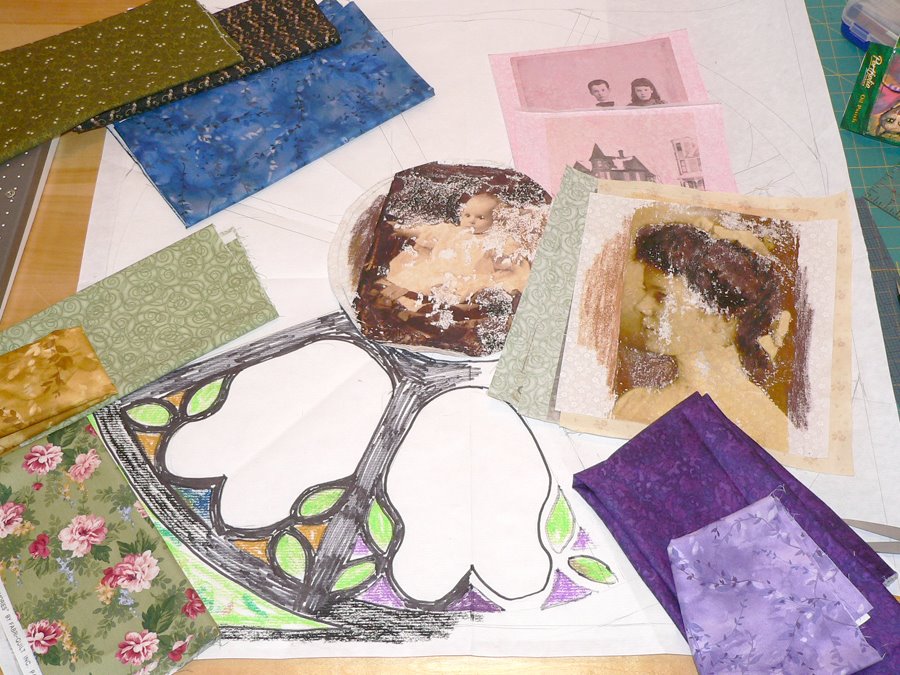
Step 3: Arranging the printed and image-transfered photos in a pleasing design.
Step 4: designing the extra details to create the rose window effect.
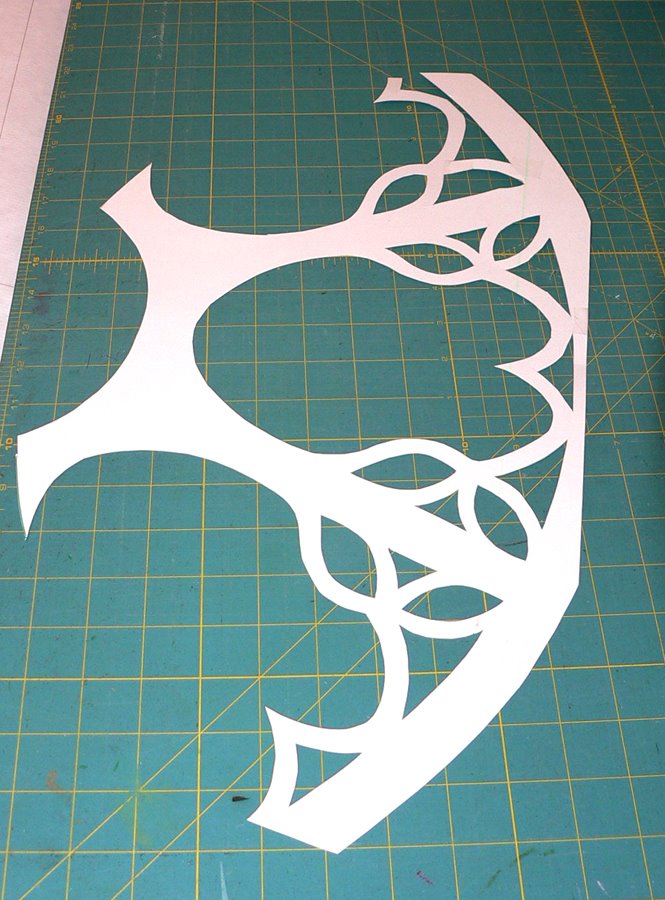
Step 5: making a tag-board template of the detailing for the rose window.
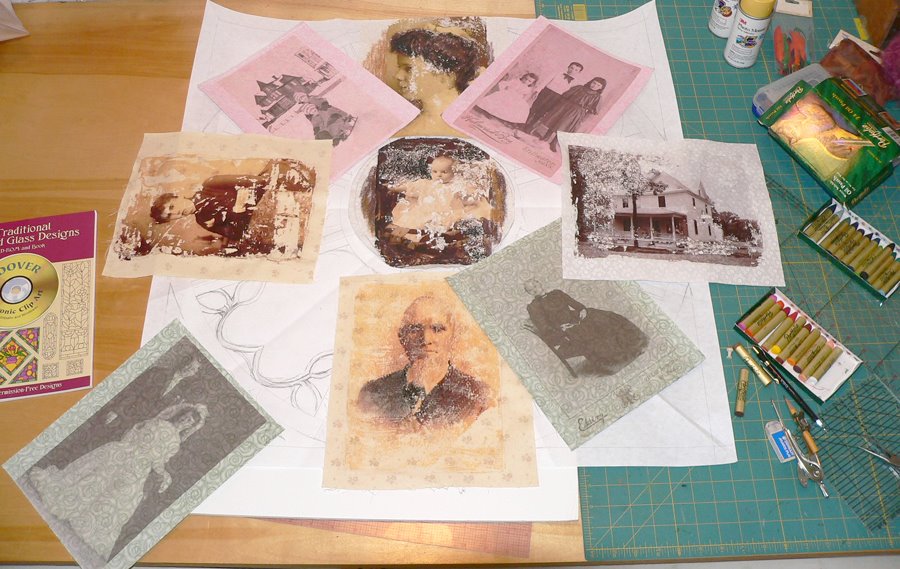
Step 6: coloring of the design based on fabrics available. I'm using Magic Markers and crapas, but anything will do.

Step 7: auditioning and selecting the fabrics for placement in the rose window
Step 8: laying the template on the printed and image-transfered photos and cutting them down to size.

This is a work in progress. I'll keep you posted!
2 comments:
Pat, thanks for this. I love to see how quilts evolve.
I enjoy seeing other's process. Great post and the quilt is looking good.
Post a Comment